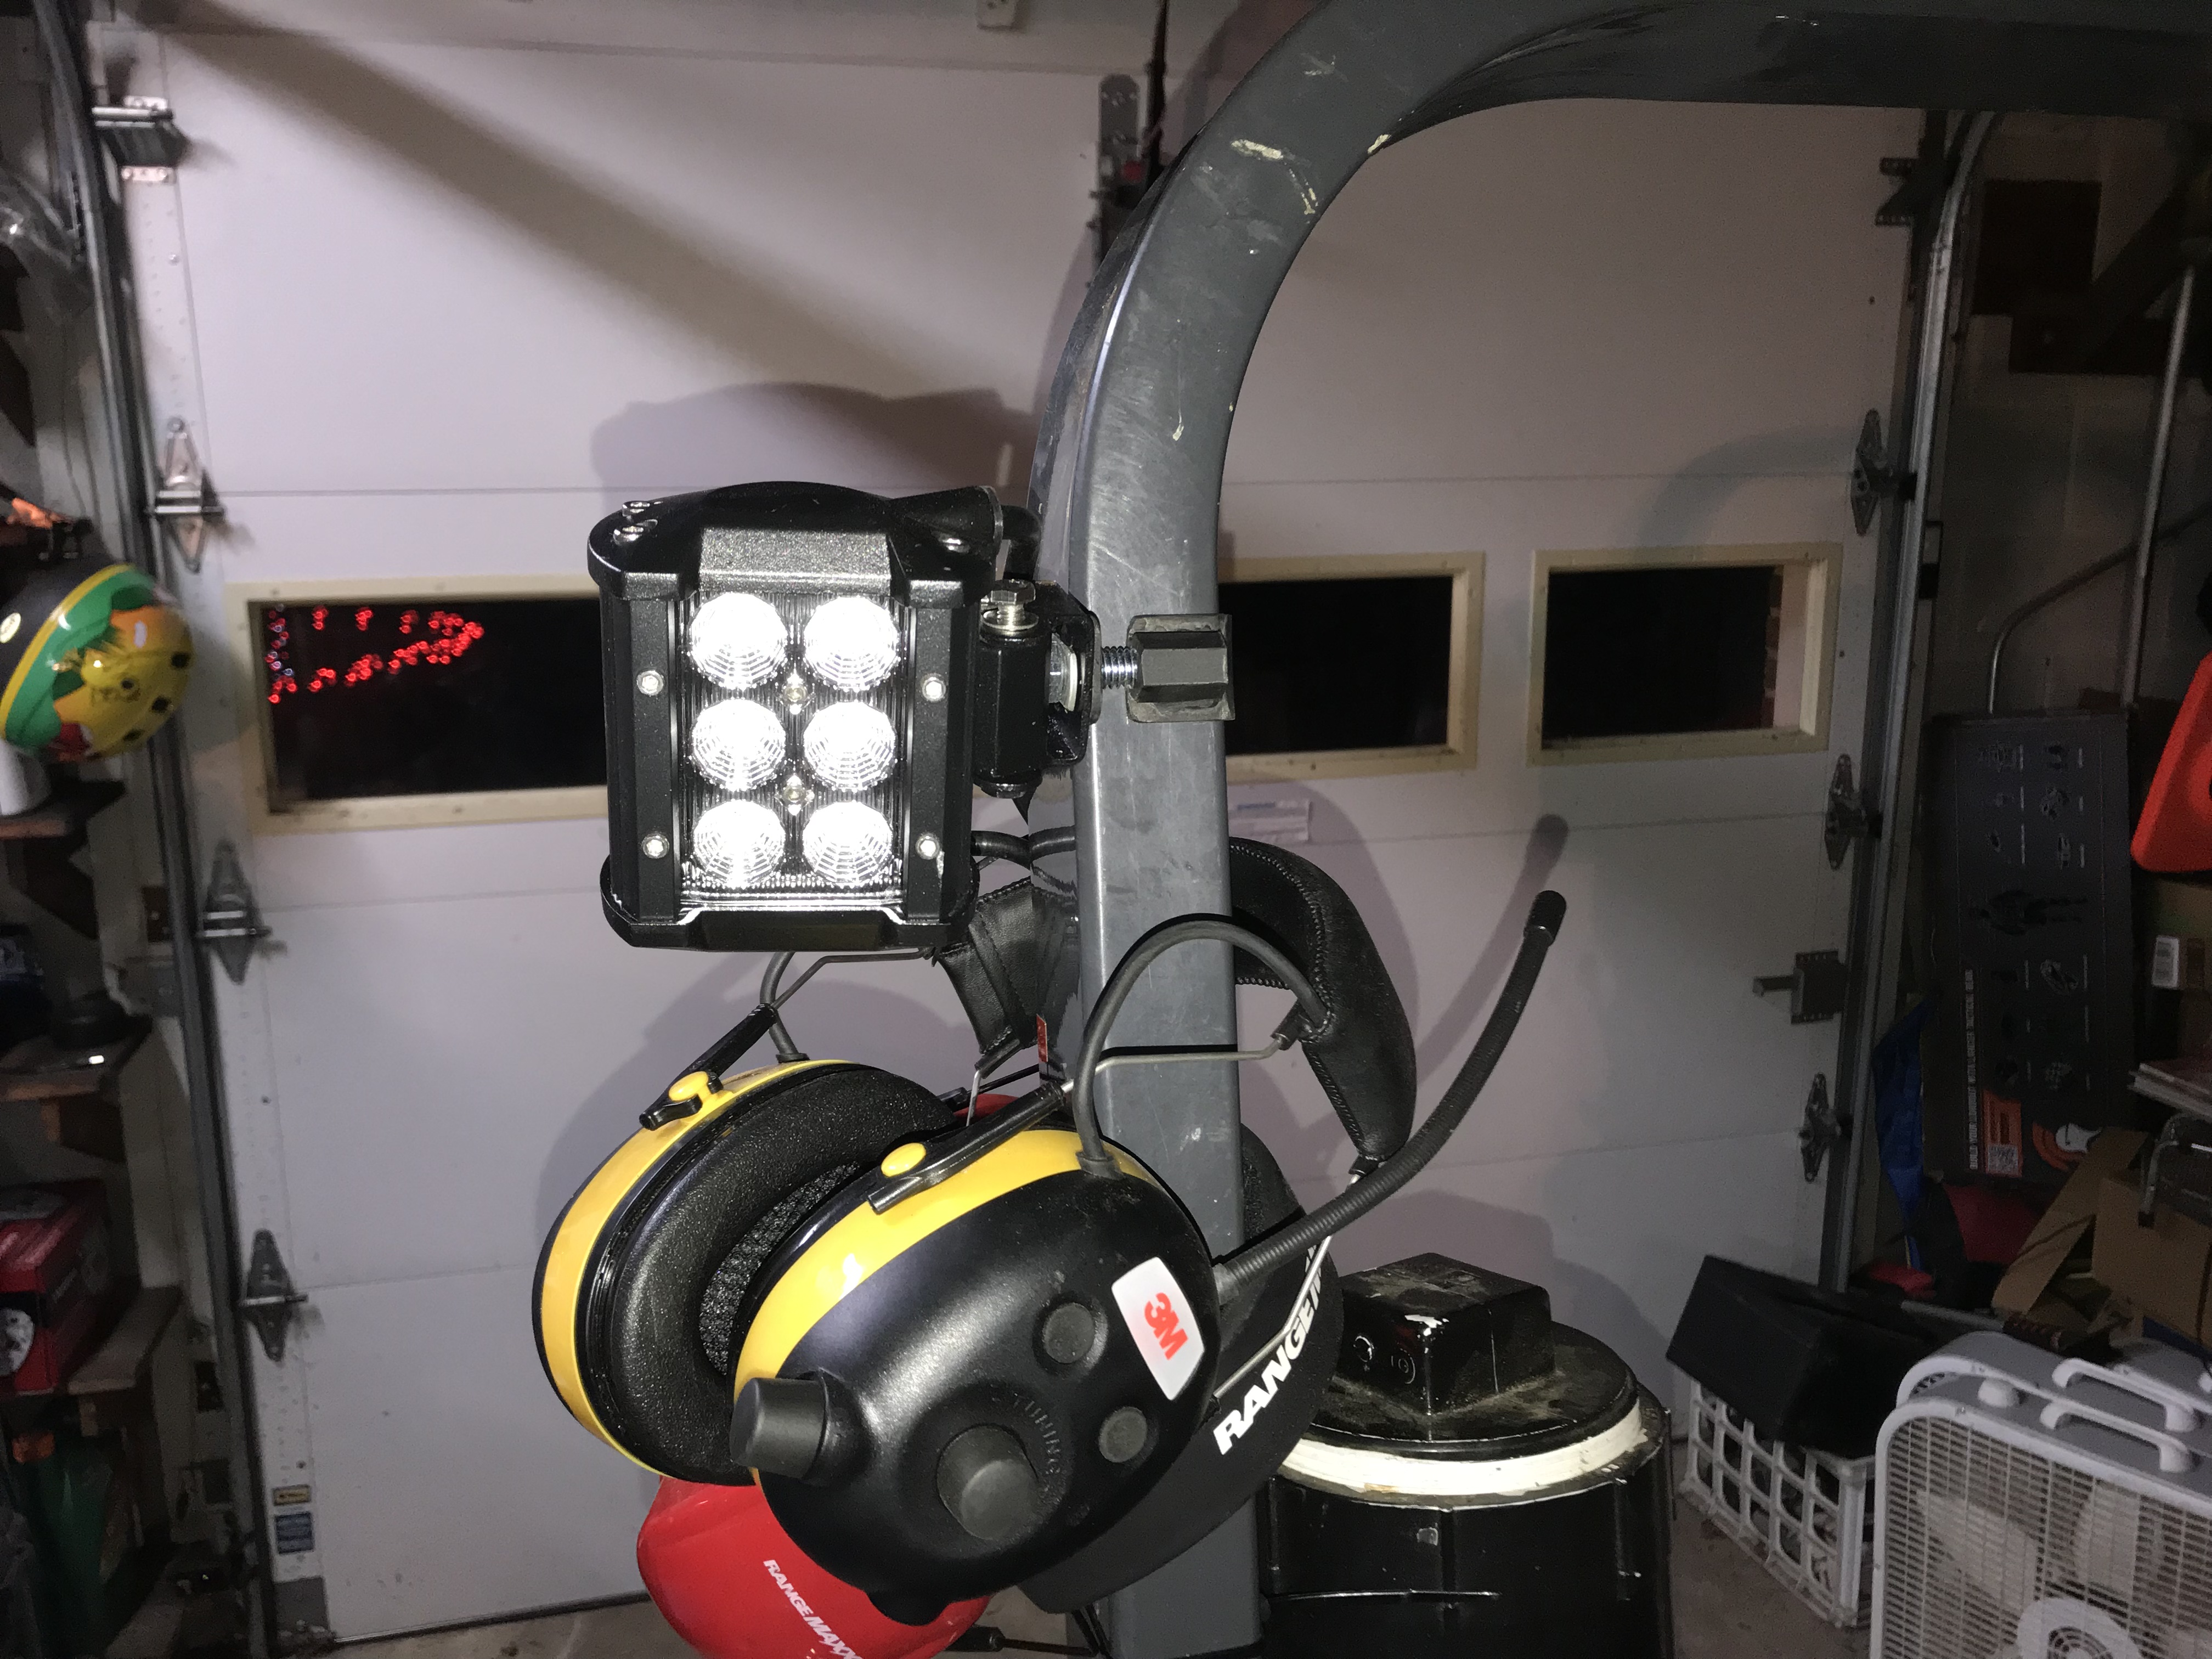
I finally wrapped up a long back-burnered project for the tractor over the holiday break. I had asked for and received a set of utility lights for the tractor last Christmas (!) but never got around to installing them. It’s a good thing I set aside some time during the break because it took the better part of the day to install.
I had gotten a wiring harness as well which included the relay, fuse, switch etc. which I just needed to modify slightly for the tractor. So after a bit of head scratching and napkin engineering, I figured out where things would end up, how to wire it and finally how to attach the lights to the ROPS in a secure and efficient way. The switch that came with the system was the same size cutout as the dashboard turn signal switch (why do I need turn signals on a tractor?). So I popped out the original switch to add this one. Then I ran power to the switch (its illuminated once I turn the ignition on) and pulled the relay wire along the main wiring harness to the back end of the tractor. From there, I installed the fuse, the relay itself and tapped into the accessory light power that came from the factory (thanks Kubota, that was thoughtful).
Once the wiring was completed, the lights were mounted on my first ever welded fabrication using the little welder that mom and dad got me for Christmas. Once everything was plugged together, Ryder and I of course had to take a test run down the street and around the property just to test out the range. Ryder approves.
Update: My first early morning snow plow was a success using these lights.


